
September 21, 2026
Why the shoulder changes everything
Learn where a shirt or jacket shoulder seam should sit, how to spot pulling or overhang, and how to measure a garment that already fits.
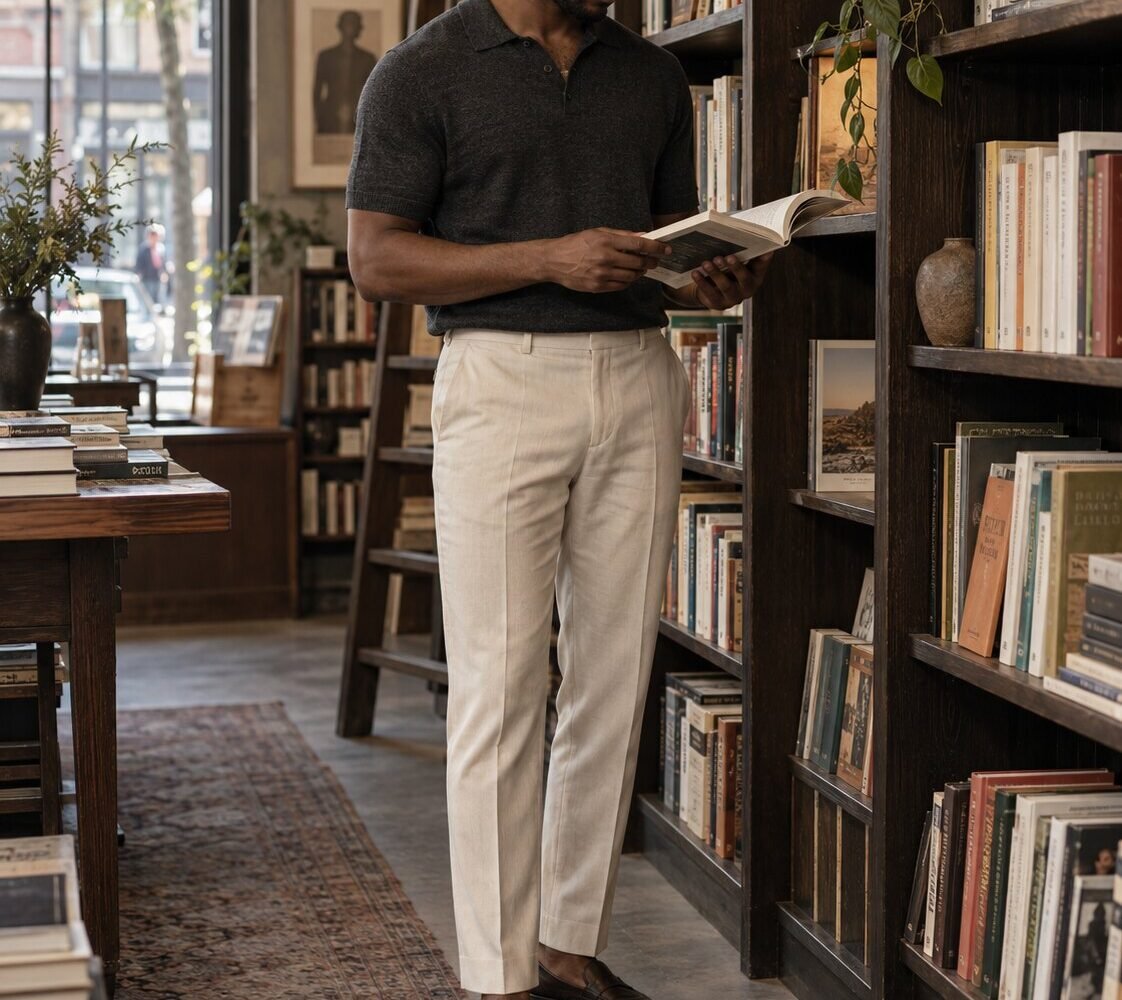
Most fit advice starts too far down the body. We tug at sleeves, compare jacket lengths and blame the waist when a garment never sat correctly at the top. The shoulder deserves the first look because it controls how the collar, chest, armhole and sleeve hang together.
For a conventional shirt or jacket, the shoulder seam should finish near the point where your shoulder turns into your upper arm. The fabric should lie cleanly across your upper back, and you should be able to reach forward without the collar climbing away from your neck. That is the short answer. The useful answer takes a little more looking.
Find your shoulder point
Run a finger from the base of your neck toward the outside of your arm. You will feel a small bony point near the top before the shoulder rounds downward. Anatomically, that area is the acromion. On most set-in sleeve designs, the shoulder seam or the end of the shirt yoke should land close to it.
The location is easier to judge from the back than from the front. Stand naturally with your arms at your sides and ask someone to take a straight photograph. If the seam stops well before your shoulder turns, the shirt will often pull across the upper chest or back. If the seam drops far down the arm, the sleeve may twist, bunch or appear longer than it is.
Proper Cloth’s shoulder-width guide uses the same practical landmark: the yoke should end where the shoulders finish and the arms begin. That point is not identical on every body, and it is not a reason to chase millimeter-level perfection. It is a reliable place to start.
Width is only one part of shoulder fit
A seam can land in the right place while the shirt still feels wrong. Shoulder fit has three connected parts:
- Width determines where the yoke or shoulder seam ends.
- Slope determines whether the garment follows the angle from your neck to your shoulder point.
- Armhole and upper-back ease determine how freely you can move once the garment is on.
Pull lines that run from the buttons toward the shoulders can signal that the upper body is too tight. Diagonal lines from the armholes toward the back of the neck can point to a mismatch in shoulder slope. If the yoke looks correct but reaching forward feels restrictive, the chest, armhole or upper back may need room rather than a wider shoulder.
This distinction matters because sizing up is not always the answer. A larger size can move the seam outward while also making the collar, body and sleeves too large. The goal is a garment whose upper sections work together.
Use movement, not a mannequin pose
Stand normally before you test anything. Clothing should fit the posture you actually use, not a shoulders-back pose held for five seconds in a fitting room.
Then make three ordinary movements:
- Reach forward as though you are taking something from a shelf.
- Cross your arms loosely in front of your chest.
- Raise one arm high enough to reach a subway strap or kitchen cabinet.
The collar should remain reasonably close to your neck, and the entire garment should not travel upward with your arm. Some resistance is normal in a structured jacket. A hard horizontal line across the back, pressure at the front of the shoulder or a collar that pulls away sharply suggests that the upper body needs more room or a different cut.
There is a practical reason to test movement around this area. Research on clothing patterns and upper-limb motion found some of the largest changes around the acromion, armhole and underarm. The researchers concluded that shoulder and armhole placement, along with ease in those moving areas, affected how well clothing followed the body. Read the study overview.
Read the surface of a jacket
Jackets reveal shoulder problems more clearly because padding, canvas and sleeve construction hold a visible shape. Check the jacket under ordinary light from the front, side and back.
A clean shoulder follows your natural line without a ledge beyond it. The sleeve should begin without a dent just below the seam, and the upper back should lie flat enough that the collar stays against your shirt. Suitsupply’s jacket-fit guidance similarly recommends a shoulder that follows the body’s natural form without overhang; too little room creates pulling, while too much leaves excess fabric and a dropped seam.
- A visible dent below the shoulder seam: The sleeve head and shoulder structure may not agree with your shape.
- A ridge or roll behind the collar: The shoulder slope, posture or upper-back balance may be wrong.
- A sharp divot when your arms rest naturally: The jacket may be too narrow, or the sleeve head may be poorly matched.
- A shelf beyond your natural shoulder: The jacket is too wide unless the silhouette is intentionally extended.
- A collar gap: The jacket may be pulling away because of posture, chest or shoulder balance.
Sleeves and waist suppression are common alterations. Rebuilding a jacket shoulder can involve the sleeve, padding, canvas and armhole, which makes it more invasive and often less economical. Buy the best shoulder you can before asking a tailor to refine the rest.
Know when the shoulder is supposed to drop
The shoulder-point rule applies to conventional set-in sleeves. It does not mean every seam must sit directly on the body.
Overshirts, chore jackets, knits, bombers and relaxed tailoring may use a dropped shoulder on purpose. Judge those garments by continuity. The extra width should carry cleanly into the sleeve and body, and the fabric should fall with intention. A designed drop creates a relaxed line. Accidental oversizing usually creates twisting sleeves, a collapsing upper chest or bunching at the armhole.
Raglan sleeves need a different test because they run diagonally from the collar toward the underarm instead of using a standard shoulder seam. Look for a smooth line across the upper body and enough movement without heavy folds at the neck or underarm.
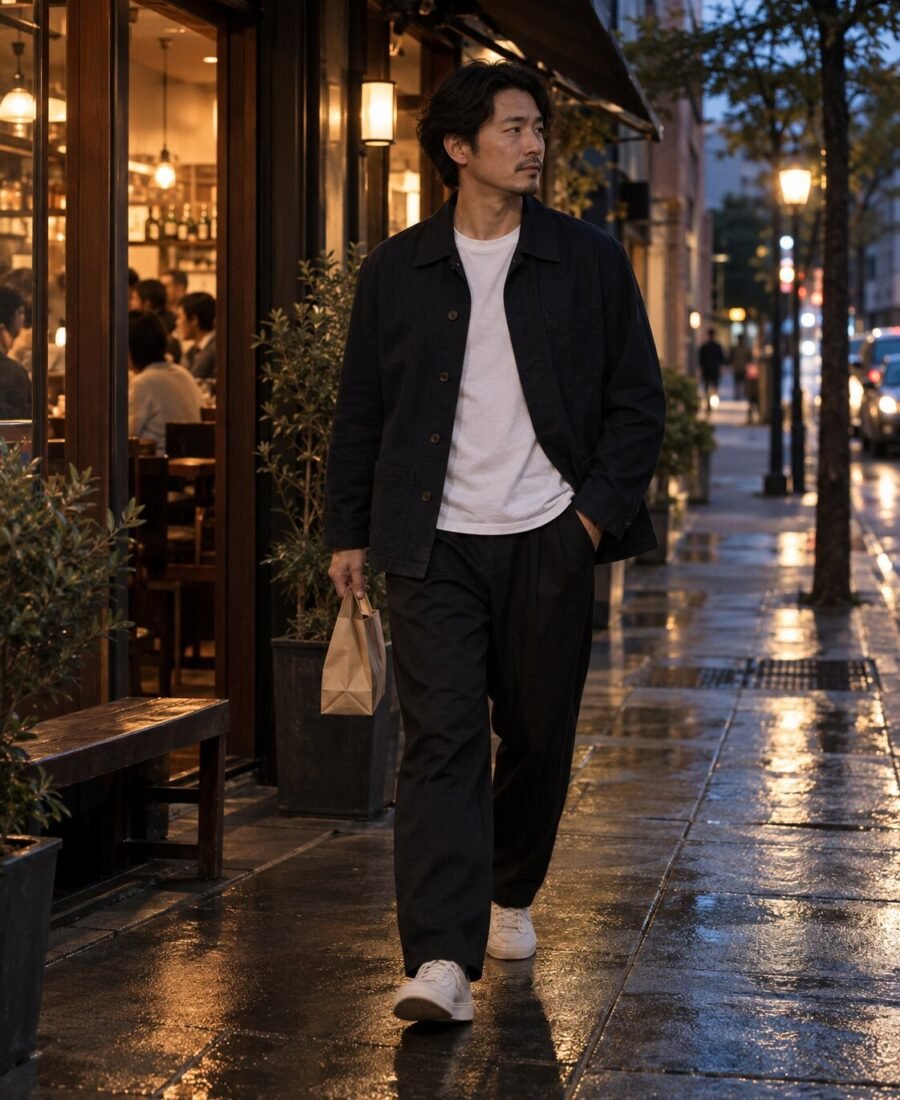
Proportion matters as much as the seam itself. A relaxed black overshirt can look precise when the trousers, shoes and fabric weights support its volume. Our guide to making black feel considered explains how texture and proportion keep an all-black outfit from reading as one flat block.
Measure the garment that already works
Online size charts are much easier to use when you compare them with clothing instead of trying to turn your body into a tailoring diagram.
Choose a shirt or jacket that fits the way you want the new garment to fit. Button or zip it, place it face down on a flat surface and smooth the fabric without stretching it. Measure straight across the back from one shoulder seam to the other. For a shirt, this is the yoke width. Record the number and note whether the garment is tailored, regular or intentionally relaxed.
Compare like with like. A structured blazer, soft cardigan and oversized overshirt can all fit correctly with different shoulder measurements. Fabric and construction change how the same number behaves.
Proper Cloth’s garment-measurement guide also measures the shirt yoke from the point where one sleeve meets the yoke to the same point on the other side. Use the retailer’s stated method when available, since some brands measure across a curve while others report a straight line.
If you are buying for someone else, photograph the label and record the shoulder, chest, sleeve and length of one garment they wear often. Those measurements are more useful than guessing from height alone. The same approach supports the broader system in How to buy clothes for him without guessing.
A 60-second shoulder check
- Does the seam land where this design intends it to land?
- Does the collar stay near the neck when your arms move?
- Is the upper back free from hard horizontal pulling?
- Do both sleeves hang in the same direction?
- Does the garment return to place after you reach forward?
- If the shoulder is dropped, does the extra volume continue cleanly through the silhouette?
- Would fixing the remaining issue require altering the shoulder itself?
Fit affects more than appearance. Clothing that pulls, shifts or needs constant adjustment keeps asking for your attention. A garment that sits properly lets you stop managing it. That everyday difference is one reason clothing can influence posture, comfort and self-perception, a relationship explored in what research says about clothes and confidence.
Start with the shoulder, then judge the collar, chest, waist, sleeve and length. When the foundation is right, the rest becomes a much more reasonable conversation.
Sources
- Makabe, H., Momota, H. and Kawai, N. “The Relation Between the Change in the Upper Limb Motion and the Clothing Pattern.” DOI record.
- Proper Cloth. “How the Shoulder/Yoke Width Should Fit.”
- Proper Cloth. “How to Measure a Dress Shirt.”
- Suitsupply. “The Perfect Fit: Jackets.”
Frequently asked questions
Where should a shirt shoulder seam sit?
On a conventional set-in sleeve, it should sit near the point where the shoulder turns into the upper arm. The intended design matters, so this rule does not apply to raglan or deliberately dropped shoulders.
Is a dropped shoulder always a sign of bad fit?
No. A dropped shoulder can be intentional when the added volume continues cleanly through the sleeve and body. It looks accidental when the rest of the garment is cut like a standard fitted piece.
Can a tailor fix shoulders?
Sometimes, but shoulder alterations are invasive and often expensive because they affect the sleeve, collar and upper body. Buy the best shoulder fit you can and reserve tailoring for simpler adjustments.
THE KALM KING JOURNAL
Continue reading

Can clothes change how you feel? What the research actually says
Can clothes affect confidence and first impressions? A research-backed look at fit, context, bias and getting dressed with intention.
Three ways to make black feel considered
Black works hardest when the outfit has texture, proportion and one small point of contrast.

How to buy clothes for him without guessing
His closet already contains the best clues. Read the labels, notice the repeats and buy for his actual life.